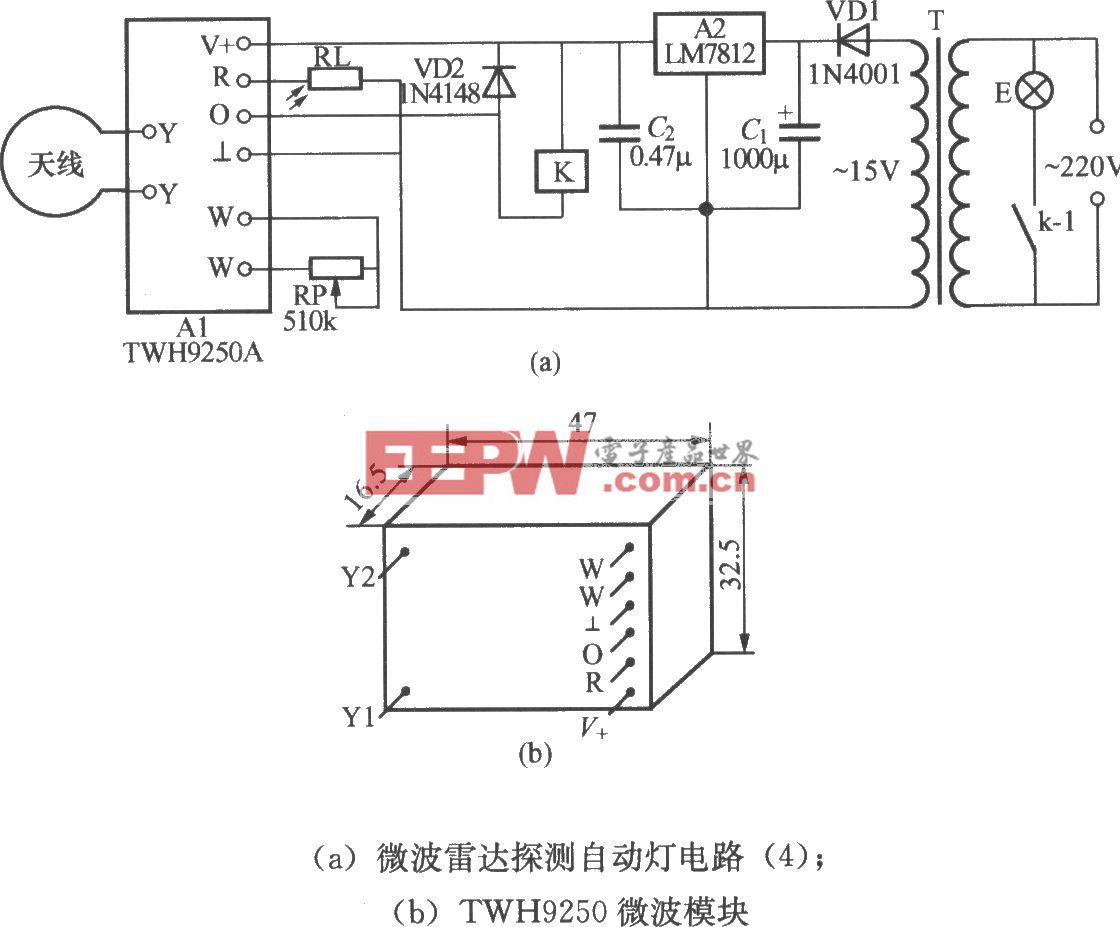
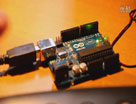
OLED 顯示雷達數據

本文結合之前關于串口打印雷達監測數據的研究,進一步擴展至 OLED 屏幕顯示。
該項目整體分為兩部分:
一、框架顯示;
二、數據采集與填充顯示。
為了減小 MCU 負擔,采用 局部刷新 的方案。
1. 顯示框架![]()

所需庫函數 Wire.h 、Adafruit_GFX.h 、Adafruit_SSD1306.h .
代碼#include <Wire.h>
#include <Adafruit_GFX.h>
#include <Adafruit_SSD1306.h>
#include "logo_128x64.h"
#include "logo_95x32.h"
#define OLED_RESET 4
Adafruit_SSD1306 display(128, 64, &Wire, OLED_RESET);
void setup()
{
Serial.begin(115200);
display.begin(SSD1306_SWITCHCAPVCC, 0x3C); // initialize with the I2C addr 0x3C (for the 128x64)
display.clearDisplay(); // 清屏
display.drawBitmap(0, 0, logo, 128, 64, 1); //畫出字符對應點陣數據
display.display();
delay(1000);
display.clearDisplay();
/*-------------------- Display picture and text ---------------------------*/
display.drawBitmap(16, 0, logo_small, 95, 32, 1);
display.setTextColor(WHITE); //設置字體顏色
display.setTextSize(2); //設置字體大小 1 is default 6x8, 2 is 12x16, 3 is 18x24
display.setCursor(0,33); //設置起始光標
display.print("v=");
display.setCursor(72,33); //設置起始光標
display.print("km/h");
display.setCursor(0,49); //設置起始光標
display.print("str=");
display.display();
}
void loop()
{
}效果
![]()
目標:實現雷達監測數據的對應填充顯示,包括速度 v 和信號強度 str
![]()

思路:將之前帖子中實現的串口打印數據與 OLED 顯示框架結合,將 v 和 str 兩數據分別填充至 OLED 屏預留位置處即可。
#include <Wire.h>
#include <Adafruit_GFX.h>
#include <Adafruit_SSD1306.h>
#include "logo_128x64.h"
#include "logo_95x32.h"

#define OLED_RESET 4
Adafruit_SSD1306 display(128, 64, &Wire, OLED_RESET);

String comdata = "";

void setup()
{
  Serial.begin(115200);
  while (Serial.read() >= 0){}//clear serialbuffer
  display.begin(SSD1306_SWITCHCAPVCC, 0x3C);  // initialize with the I2C addr 0x3C (for the 128x64)
  display.clearDisplay(); // 清屏
  display.drawBitmap(0, 0, logo, 128, 64, 1); //畫出字符對應點陣數據
  display.display();
  delay(1000);
  display.clearDisplay();
  /*-------------------- Display picture and text ---------------------------*/
  display.drawBitmap(16, 0, logo_small, 95, 32, 1);
  display.setTextColor(WHITE);  //設置字體顏色
  display.setTextSize(2);  //設置字體大小 1 is default 6x8, 2 is 12x16, 3 is 18x24
  display.setCursor(0,33); //設置起始光標
  display.print("v=");
  display.setCursor(80,33); //設置起始光標
  display.print("km/h");
  display.setCursor(0,49); //設置起始光標
  display.print("str=");
  display.display();
}

void loop()
{
  if (Serial.available() > 0)
  {
    char data = Serial.read();
    comdata += data;
    if (data == '\n')
    {// type of comdata: v=1.0 km/h, str=10151
      int separatorIndex = comdata.indexOf(','); // 假設分隔符為逗號
      if (separatorIndex != -1)
      {
        String part1 = comdata.substring(0, separatorIndex); // 第一個部分
        String part2 = comdata.substring(separatorIndex + 1); // 第二個部分
        // 打印分割后的數據
        //Serial.println(part1); // type of part1: v=1.0 km/h
        //Serial.println(part2); // type of part2:  str=10151
        /*------------ part1 : v=1.0 km/h ----------*/
        int part1separatorIndex = part1.indexOf('='); //index of '='
        if (part1separatorIndex != -1)
        {
          String vlc = part1.substring(part1separatorIndex + 1); // index of velocity, type of vlc is 1.0 km/h
          // vlc: 1.0 km/h
          int VLCseparatorIndex = vlc.indexOf(' '); // index of ' '
          String v = vlc.substring(0, VLCseparatorIndex);// v only include number
          float Vn = v.toFloat();
          Serial.print(Vn); // print velocity number
          Serial.print(',');
          //display.setCursor(25,33); //設置起始光標
          display.fillRect(25, 33, 60, 16, BLACK);
          display.display();
          display.setCursor(25,33); //設置起始光標
          display.print(Vn);
          display.display();
        }
        /*------------- part2 :  str=10151 ------------------*/
        int part2separatorIndex = part2.indexOf('='); //index of '='
        if (part2separatorIndex != -1)
        {
          String strng = part2.substring(part2separatorIndex + 1); // strng only include number
          int Sn = strng.toInt();
          Serial.print(Sn); // print strength number
          Serial.println();
          //display.setCursor(49,49); //設置起始光標
          display.fillRect(49, 49, 79, 16, BLACK);
          //display.setPixelColor();
          display.display();
          display.setCursor(49,49); //設置起始光標
          display.print(Sn);
          display.display();
        }
      }
      comdata = "";
    }
  }
}![]()

這里由于字體設置為 2 號,無法滿足 km/h 單位的完整填充,因此被數據覆蓋住一部分,可根據實際需求調整字體大小。
![]()

*博客內容為網友個人發布,僅代表博主個人觀點,如有侵權請聯系工作人員刪除。